Banana Peel Scrap Vinegar: Wild Fermentation vs Backslopping
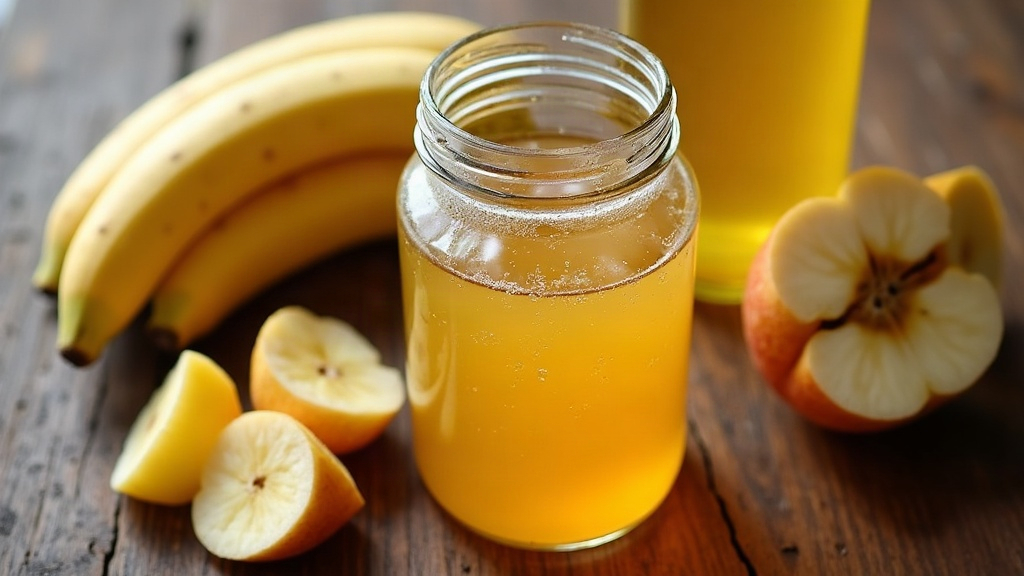
Banana Peel Scrap Vinegar: Wild Fermentation vs. Backslopping
Banana peel scrap vinegar is one of those small kitchen projects that feels disproportionately satisfying. You’re taking something headed for the compost bin and turning it into a tangy, mildly fruity vinegar you can use for cooking, cleaning, or feeding the garden. There are two ways to get there: wild fermentation (letting airborne yeasts and bacteria do all the work) or backslopping (giving the batch a head start with raw, unpasteurized apple cider vinegar that already has a living mother in it). Both get you to vinegar eventually. But they differ a lot in speed, reliability, and flavor, and knowing those differences up front can save you from ending up with a jar of mush and fruit flies three weeks in.
How Banana Peel Vinegar Actually Works
Vinegar making happens in two stages:
- Alcoholic fermentation - wild or added yeasts eat the sugars in the banana peels and water, producing alcohol. Think of it as a rough, unglamorous “banana wine.”
- Acetic fermentation - acetic acid bacteria (AAB) then convert that alcohol into acetic acid, which is the compound responsible for vinegar’s sourness.
Banana peels work well for this because they hold onto residual sugar and starch even after you’ve eaten the fruit, and natural yeasts already live on the peel’s surface. The catch? Peels alone don’t guarantee you’ll have enough AAB around to finish the job. That’s exactly where your choice of method starts to matter.
Method 1: Wild Fermentation (No Starter)
This is the old-school “toss it in a jar and wait” approach.
Process:
- Fill a clean glass jar about halfway with banana peels (3-4 peels per quart is a good rule of thumb).
- Add 1 tablespoon of sugar per cup of water to feed the yeasts, then top with dechlorinated water, leaving about 2 inches of headspace.
- Cover with a coffee filter or cloth secured with a rubber band. Never use a sealed lid; the gas produced needs somewhere to go.
- Stir daily for the first week. This keeps mold from taking hold and keeps the peels from floating above the liquid.
Pros:
- No need for a vinegar mother or any other starter. Just scraps, water, sugar, and patience.
- A more “authentic” result, in the sense that the flavor reflects your own kitchen’s microbial fingerprint.
Cons:
- Slow. Expect 3-4 weeks for the alcohol stage, then another 4-6 weeks for acetification. That’s 2 to 3 months, start to finish.
- Higher mold risk, especially in the first few days before the acidity climbs high enough to protect itself.
- Inconsistent. Strength and flavor swing from batch to batch, and sometimes a batch just stalls and never acidifies properly.
Method 2: Backslopping with Raw Apple Cider Vinegar
Backslopping means seeding your new batch with a mature, unpasteurized vinegar (look for “with the mother” on the label, Bragg’s is the common example).
Process:
- Prepare the banana peel and sugar-water mixture exactly as above.
- Add raw ACV at roughly 10-20% of the total liquid volume, about ½ cup per quart.
- Cover with cloth, stir daily, and keep it somewhere warm and dark (68-80°F / 20-27°C).
Pros:
- Noticeably faster. Full fermentation often wraps up in 3-4 weeks total, because you’re introducing both yeast byproducts and a dense, ready-to-work population of acetic acid bacteria from day one.
- The lower starting pH keeps mold and competing bacteria at bay, which makes this the safer route if you’re new to this.
- More predictable acidity and flavor from batch to batch.
Cons:
- You need to track down a decent raw vinegar, one with visible mother strands or sediment in the bottle.
- The finished product tastes a touch more like apple cider vinegar than pure banana.
Side-by-Side Comparison
| Factor | Wild Fermentation | Backslopping |
|---|---|---|
| Total time | 8-12 weeks | 3-4 weeks |
| Mold risk | Higher | Lower |
| Flavor | More banana-forward | Slight ACV influence |
| Beginner friendly | Moderate | High |
| Starter needed | None | Raw ACV with mother |
Signs Your Vinegar Is Working (or Failing)
- Good signs: a thin film or cloudy strands forming on the surface (that’s your mother developing), a smell that shifts from boozy to sour over time, and bubbling during the alcohol stage.
- Warning signs: fuzzy green, black, or pink mold (toss it, no second-guessing), a smell that’s rotten rather than sour or alcoholic, or no activity whatsoever after 2 weeks. That last one usually means the water had chlorine in it or the spot you chose was too cold.
Tips for Success Either Way
- Use filtered water, or tap water that’s been boiled and cooled. Chlorine will kill off the exact microbes you’re trying to cultivate.
- Keep the peels submerged, a small weight or an extra peel pressed down on top works fine.
- Start tasting around week 3. The vinegar’s ready once it’s pleasantly sour with no alcohol bite left, generally somewhere around pH 3-4.
- Once finished, strain through cheesecloth and store in a sealed glass bottle. At room temperature, it keeps more or less forever.
Which Method Should You Choose?
Got raw apple cider vinegar sitting in the pantry already and want results in under a month? Backslopping wins, no contest, especially if this is your first time making vinegar. But if you’d rather keep it fully scrap-based with zero additives, and you don’t mind waiting two to three months while checking on it more closely, wild fermentation gives you something genuinely homegrown, with character that’s specific to your own kitchen.
Either way you go, banana peel scrap vinegar is a small, satisfying way to squeeze extra value out of food waste, and it’s a skill that keeps paying off in free, flavorful vinegar for salad dressings, pickling, and general cleaning around the house.