Lacto-Fermented Dandelion Buds: A Wild Caper Alternative
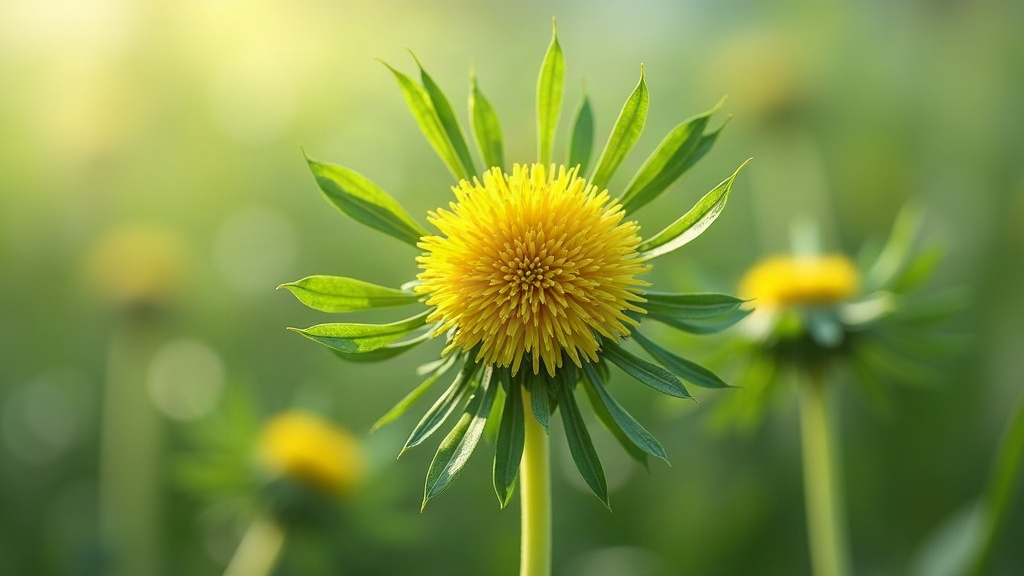
Turn Your Backyard Weeds Into a Gourmet Delicacy With Lacto-Fermented Dandelion Buds
That patch of “weeds” you’ve been mowing down every Saturday? It might be sitting on a free jar of gourmet capers. The tightly closed flower buds of the common dandelion (Taraxacum officinale) can be naturally fermented into something salty, tangy, and deeply savory, a genuine stand-in for wild capers. This is an old preservation trick that leans on beneficial lactic acid bacteria to turn a foraged, zero-cost ingredient into a condiment that honestly gives expensive imported capers a run for their money.
Why Choose a Wild Caper Alternative?
Real capers come from the unripened flower buds of the caper bush (Capparis spinosa), a plant that mostly grows around the Mediterranean. So unless you happen to live somewhere warm and coastal, every jar of capers on your grocery shelf traveled a long way to get there. Dandelions don’t have that problem. They pop up everywhere, in nearly every temperate climate on the planet, whether you invite them or not.
Making lacto-fermented dandelion buds means you’re:
- Foraging locally: cutting down your food’s travel distance by using what’s already growing a few feet from your back door.
- Saving money: turning a plant most people pay to get rid of into a pantry item that costs $6-8 a jar at specialty stores.
- Boosting gut health: getting a dose of live, probiotic bacteria through natural fermentation, the same process behind sauerkraut and kimchi.
- Balancing flavors: raw dandelion greens and buds are notably bitter, but fermentation softens that edge and swaps it for a bright, umami-heavy tang.
How to Forage and Prep Dandelion Buds
Timing is everything here. The whole trick to getting that authentic caper texture comes down to picking the buds early, before they get any ideas about opening into flowers.
- Look for tight buds: search near the center of the green rosette, close to the soil line. A good bud is hard, small, tightly shut, and roughly pea-sized. If it’s already showing yellow, you’ve waited too long.
- Remove stems and leaves: pinch each bud off right at its base. Strip away any stem bits or the small green sepals hugging the bottom, since those add bitterness and a stringy chew you don’t want.
- Wash thoroughly: rinse in cold water and swish the buds around a bit. Dirt, grit, and the odd tiny bug like to hide in the folds. Drain well before moving on.
The Lacto-Fermentation Process
This isn’t complicated. Three ingredients, that’s it: dandelion buds, filtered water, and non-iodized salt. A 3% brine is the sweet spot: strong enough to keep the buds crisp and steer the fermentation toward the right bacteria, without inviting mold.
Ingredients and Equipment
- 1 cup tightly packed, rinsed dandelion buds
- 1 cup filtered or unchlorinated water
- 1.5 teaspoons fine sea salt or kosher salt (non-iodized, no exceptions)
- Optional aromatics: 1 crushed garlic clove, a sprig of fresh dill, or a few black peppercorns
- A small glass mason jar and a glass fermentation weight
Step-by-Step Instructions
- Create the brine. Dissolve the salt into the filtered water. Skip tap water if it’s chlorinated. Chlorine kills off the lactobacillus bacteria you actually need for this to work.
- Pack the jar. Drop any aromatics into the bottom of a sterilized jar first, then pack the cleaned buds tightly on top.
- Submerge. Pour brine over the buds until fully covered, leaving about an inch of headspace so gas has room to expand without pushing liquid out.
- Weigh it down. A glass fermentation weight (or a small food-safe ziplock bag topped off with extra brine) keeps everything under the liquid line. Anything poking above the surface is an open invitation for mold.
- Cover and wait. A loosely fitted lid works, though a silicone airlock lid is better. Tuck the jar into a dark cupboard at room temperature, somewhere around 65-72°F, away from sunlight.
How Long to Ferment?
Your kitchen’s temperature calls the shots here. Most batches of lacto-fermented dandelion buds are ready somewhere between 5 and 10 days.
Start checking on day 5. You’re aiming for an olive-green color, a tart and tangy bite, and a crunch that feels close enough to a real caper that you’d fool a dinner guest. Using a plain lid without an airlock? Burp the jar once a day, just crack the lid open for a second to let the CO2 escape, then reseal.
Once it tastes right to you, screw the lid on tight and move the jar to the fridge. Cold temperatures slow fermentation to a near stop, and your wild capers will keep in there for up to a year.
Delicious Ways to Use Your Wild Capers
Anywhere a recipe calls for capers, these work. That salty, acidic crunch is exactly what cuts through rich, fatty, or cream-based dishes.
A few ideas worth trying:
- Scatter them over a toasted bagel with cream cheese, thin red onion, and smoked salmon.
- Stir into potato salad, egg salad, or tuna salad for a sharp little pop of flavor.
- Simmer into a classic chicken piccata, or fold into a puttanesca sauce.
- Chop fine and mix into homemade tartar sauce, remoulade, or a Caesar dressing.
- Sprinkle over roasted root vegetables or grilled fish right before serving.
Conclusion
This is one of those weekend projects that costs almost nothing and pays off far more than the effort suggests. Once you understand the basics of lacto-fermentation, turning a lawn weed into a genuine wild caper alternative is honestly not much harder than making pickles. So the next time you catch sight of those tiny green buds hiding low in the grass, skip the mower. Grab a handful and let your pantry benefit instead.