How to Brew Pine Needle Kombucha Safely at Home
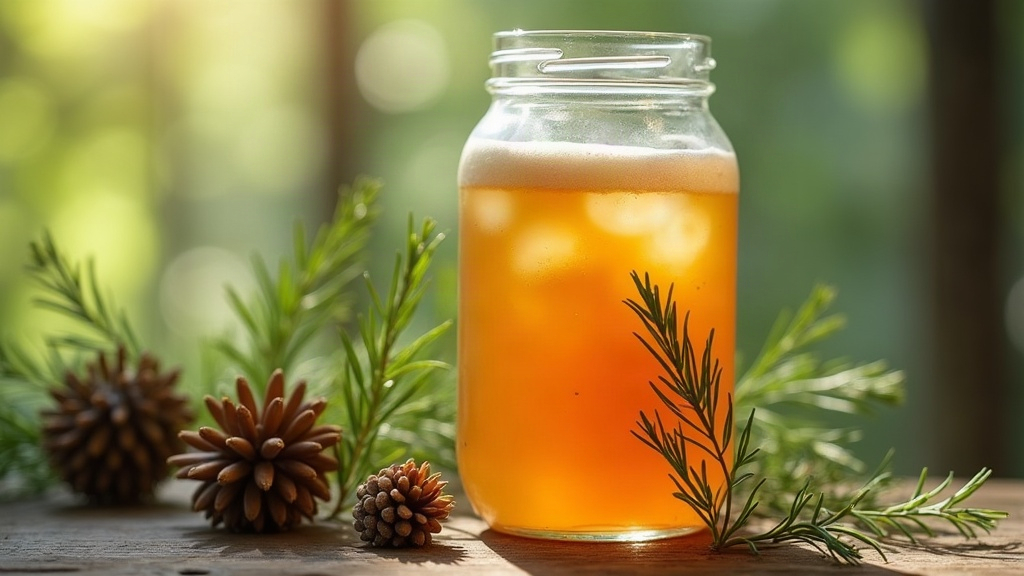
If you’ve been itching to push your home fermentation hobby somewhere new, brewing pine needle kombucha is worth the detour. Done right, it gives you a bright, citrusy, slightly woodsy drink with a solid dose of Vitamin C tucked in. The catch is that you’re foraging, not shopping, so you need to know exactly which conifers are safe to eat and how to pull their flavor out properly during secondary fermentation. Below is everything you need: safe foraging know-how, plus the actual steps to get a bubbly, forest-tinged brew in your glass.
Why Brew Pine Needle Kombucha?
Most people reach for berries or a knob of ginger when they hit the F2 (secondary fermentation) stage. Heading into the woods instead gets you a few things they can’t offer:
- Unique Flavor: Edible pine needles don’t taste like a pine-scented cleaning product, despite what your brain might assume. They’re closer to a mix of lemon, rosemary, and mint. Genuinely citrusy, not medicinal.
- High Vitamin C Content: This isn’t a new trend, either. Indigenous cultures have brewed pine needle tea for generations, partly to fend off scurvy and support immunity through the cold months.
- Sustainable Foraging: Needles don’t disappear in winter the way berries and stone fruit do. That makes pine a handy flavoring option exactly when your other options dry up.
Crucial Safety First: Choosing the Right Pine Needles
Here’s the part that actually matters most: getting the tree identification right. Not every evergreen in your yard or local park is fit to drink. Get this wrong and you’re not just ruining a batch of kombucha, you’re risking your health.
Safe, Edible Conifers
- Eastern White Pine: Long, soft needles, mild flavor with a sweet, citrus-leaning edge. A solid beginner choice.
- Spruce and Fir: Frequently used interchangeably by brewers. Spruce tips, those bright green shoots that appear in spring, are especially good: tender, lemony, and fast to infuse.
Toxic Lookalikes to Avoid
- Yew (Taxus species): Genuinely dangerous, potentially fatal if consumed. Flat, dark green needles, often with red berries attached. Do not use Yew, full stop.
- Ponderosa Pine, Lodgepole Pine, and Monterey Pine: These come with real toxicity concerns, and pregnant women in particular should steer well clear.
- Norfolk Island Pine: That houseplant sitting in your living room isn’t actually a pine at all, and it’s not safe to eat.
Pro Tip: Don’t rely on guesswork or a quick internet search. Grab a local foraging guidebook or, better yet, ask someone who actually knows the trees in your area. If you’re not 100% sure what you’re looking at, leave it on the branch.
Step-by-Step Guide on How to Brew Pine Needle Kombucha Safely at Home
Once you’ve nailed down the identification and picked your needles, you’re ready to brew. This method keeps pine confined to the F2 stage, which is exactly where it belongs, since it protects your SCOBY from unnecessary exposure.
What You Need:
- 16 oz (roughly 500ml) of unflavored, F1-fermented kombucha
- 1/4 cup fresh, safely foraged pine needles (Eastern White Pine works well)
- 1 teaspoon honey or plain cane sugar (this is what feeds the carbonation)
- A clean swing-top glass bottle rated for brewing
Step 1: Prep and Clean the Needles
Rinse the foraged needles under cold water, working out any dust, sap residue, or the occasional stray bug. Pat them dry, then chop them into roughly 1/2-inch pieces with a sharp knife or kitchen scissors. Don’t skip the chopping step: it breaks open the tough outer walls of the needle and lets the aromatic oils actually escape into the liquid.
Step 2: Bottle the Ingredients
Drop the chopped needles and your sugar (or honey) into the bottom of the swing-top bottle first. Since pine needles bring almost no natural sugar to the party (unlike, say, mango or berries), that added sugar is what keeps the leftover yeast fed and the final product properly fizzy.
Step 3: Add the Kombucha
Pour in your unflavored F1 kombucha, leaving about one to two inches of headspace near the top. Seal it tight.
Step 4: Secondary Fermentation (F2)
Set the bottle somewhere dark and warm, ideally 70-75°F (21-24°C), and let it sit for 3 to 5 days. Pine needles are slower to release their flavor than something like sliced strawberries, so don’t rush it.
Safety reminder: Burp the bottle daily, cracking the cap just enough to let excess gas escape. Skip this and you risk a genuinely messy (and occasionally dangerous) pressure buildup.
Step 5: Strain and Chill
Once the fizz and woodsy flavor hit where you want them, strain out the needles. Pour the clean liquid into a fresh bottle and refrigerate it. The cold slows fermentation to a crawl and locks the carbonation in place.
Tips for the Perfect Woodsy Fizz
- Blend Flavors: Pine plays well with other ingredients. Toss in a slice of fresh ginger, a splash of lemon juice, or a few dried juniper berries alongside the needles for extra complexity.
- Spring Harvest: Foraging in spring? Look for spruce tips, the soft, bright green new growth at branch ends. They’re sweeter, more tender, and ferment noticeably faster than the tougher, mature needles you’d find in winter.
- Avoid the SCOBY: Never toss raw, unboiled pine needles straight into your primary fermentation vessel. The raw plant matter and natural resins can invite mold and slowly wear down your SCOBY. Keep pine strictly to F2, no exceptions.
Frequently Asked Questions
Can I use store-bought pine extract instead of fresh needles? You can, as long as it’s a food-grade extract meant for consumption. That said, fresh needles give you a noticeably brighter, more layered flavor and better natural carbonation than a bottled extract ever will.
Does pine needle kombucha contain caffeine? It does, technically. Since the underlying kombucha base is brewed from black, green, or oolong tea, some caffeine carries through to the finished drink. The pine needles themselves add zero caffeine; they’re just along for the flavor ride.
Conclusion
Foraged ingredients bring something to fermentation that store-bought flavorings just can’t replicate. Get comfortable with pine needle kombucha and you’ve got a refreshing, vitamin-packed drink that genuinely tastes like a walk through the woods. Just keep tree identification front and center, keep your equipment clean, and don’t forget the sugar for carbonation. Do that, and you’ll be sipping on a proper woodsy fizz before the week is out. Happy brewing, and forage carefully.